Vertigo Map Making
Originally written by feydk
If you’re interested in making a map, your first step will be to purchase a new creative world for 10,000 coins.
When making a map for Vertigo, there are some things you need to consider:
- The size of the pool. The size determines how long the game will drag on for, if all players keep up with each other. So consider this carefully. If a couple of equally skilled players play a map with a pool of, say 15×15, it will take a considerable time to complete a game. For comparison, the default map uses a pool of 7×7.
- The jump height. The higher up, the easier it becomes to move in the air, but it may also become more difficult to get a good aim. And don’t forget to take render distance into consideration as well. There is really no limit to the jump height. For comparison, the default map uses a jump height of 30 blocks (above the pool).
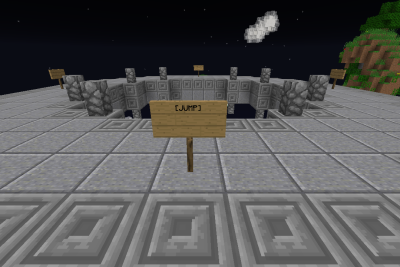
- The decoration and surroundings. Basically, you can do what you want. You could make a colorful drop, an Olympic swimming stadium or whatever. But keep in mind there must be designated places for players to spawn, and there must be a way to spectate the jumps from below. Ideally players should have a clear view to the jumping platform from the spawn positions.
- And a few rules: the drop area must be surrounded by barrier blocks or solid blocks so that you can’t jump “out”. The pool has to have water in it. Also check the relevant requirements in the sections below.
Before you start building, also consider the following requirements for map configuration, as they may have an impact on how you design your map.
Pool requirements
Must be square. Must have exactly 2 [BOUNDARY] signs (see below). Must have one [water] sign (see below). Must be one block deep.
The bordering blocks around the pool must use a material different from the blocks that are used to fill up the pool. See “Pool filler blocks”.
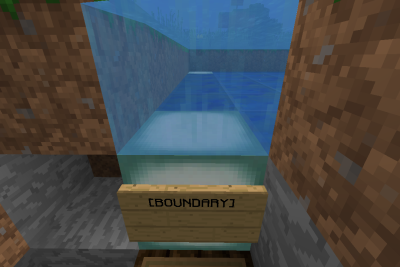
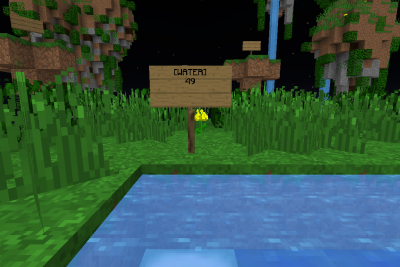
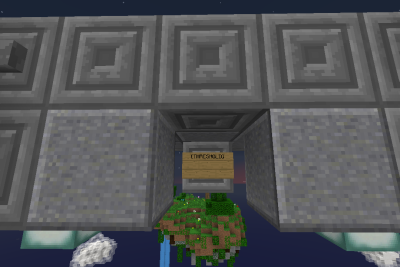
As you can see, this is the block below one of the pool corners. Attach a [BOUNDARY] sign to that block. Do the same for the block in the opposite corner, so that the signs define a cuboid for the pool. This is required to make golden ring spawning work. The signs are removed when the game starts. You also need to tell the game how much water there actually is in the pool. Do this simply by having a [WATER] sign with the exact number of water blocks on the second line. In this example it says 49, because the pool size is 7×7. This sign is removed when the game starts.

